Monday, January 30, 2012

Winter Seedling and Spring Planting Guide

Winter Seedling and Spring Planting Suggestions
By: The Downtown Teaching Farm

Updated 2/28/2014
Combating cabin fever and looking forward to spring and summer bounty go hand in hand.  Many hours can be spent selecting varieties, ordering seeds, and deciding what to start at home.  These are some suggestions we have based on a typical Boise-area spring season.

Secrets to success: 
        Use a seed tray with drainage.  If it doesn’t have prepunched holes, punch about 10 holes in the bottom of the tray.  The seedlings will drown without drainage.
        Fill the tray loosely with soil, and then wet the soil thoroughly and test the drainage before planting.  This helps the soil settle, provides a proper reservoir for watering, and moist soil is much easier to work with; it prevents the seeds from floating around and getting all mixed together.
        The larger the seed, the deeper it needs to go into the soil – a good rule of thumb is that the seed should be about four times deeper than its largest side.
o        One important exception – basil seeds need to have light to germinate, so do not bury them at all.  They will turn whitish as the seed coat absorbs water from the soil, that is normal, and then they will germinate!
        Use a shop-light or other overhead light, dangling it about 6” above the soil/seedling level.  Leave the light on at least 12-14 hours a day.  Expensive UV lights are not usually necessary.  Window light is often not direct enough for healthy growth and results in “leggy” seedlings with weak stems.
        While waiting for the seeds to germinate, cover the tray with saran wrap, this holds water on the surface of the tray and prevents a wet-dry-wet-dry cycle, which is often detrimental to germination.
        Once the seeds have germinated, remove the saran wrap and don’t over water.  Water when your plants look wilted, or test the soil by putting your finger in to the depth of your fingernail, and if the soil feels dry down there, it is time to water.  Once water starts to drain out the holes, you know its saturated enough.
        Plan to transplant your seedlings into larger pots after they have two sets of true leaves.  Also, watch them closely that the growing plants don’t get burned by the light bulbs. 
        If your plants start to look sickly in color, they may need some fertilizer, and they are probably ready for real sunlight.  We use a very dilute (about 1 capful per gallon) solution of Alaskan Fish Fertilizer, being careful to turn the lights out until any extra fertilizer has evaporated from the leaves (it can easily burn).
        A cold frame can be easily made out of clear plastic, old window panes or plexiglass, and many other household “leftovers.”    This is an excellent choice for an intermediate home for your seedlings. By about 8 weeks most plants become too large for their indoor trays, need real sunlight, but it is still too cold to plant them outside.  A cold frame’s purpose is to provide ample light (with a clear roof and sides) and protection from nighttime frost.

In our classrooms at Boise High we plant broccoli, kale, cauliflower, cabbage, onions, lettuce, spinach, and perennial flowers in early February, for planting out in the garden in March and April.  Peas, potatoes and mesclun mix can also be started early, but do best straight into the ground in March and April.  We plant peppers and eggplant next, as they take longer to germinate and like to have several sets of leaves before planting in late-May or early June.  Annual flowers, herbs, and tomatoes are usually best started in late February or March – two months of growth is plenty for them to be planted out in late May.  In addition, many of the summer crops do best planted straight into the ground – corn, squash, cucumbers, and beans among them.  Frankly, they do not need or appreciate your loving seed trays – they want real sun and warm soil and will produce when summer tells them its time.


Plant
Start your seedlings indoors:
Plant your seedlings in the garden:
Broccoli, Cauliflower, Kale, Cabbage, Onions, Lettuce, Spinach, Perennial Flowers and Herbs
Mid-Late February
March and April
Peas, Potatoes, Spinach, and Mesclun mix (mixed greens), Onion sets and starts
___
Direct sow in March and April
Peppers and Eggplants
Mid-Late February, use a heated seed mat to improve germination.  Many DIY seed mat options available online.
Late May and Early June
Annual Flower, Annual Herbs, and Tomatoes
Late February through March.  About 8-10 weeks of growth indoors is ideal.  Plan to transplant into larger pots by mid April when plants have two sets of true leaves.
*Tip: Basil needs light to germinate, let seeds rest right on the top of the soil tray, exposed to the light, and keep moist until germinated.
Late May and Early June
Cilantro
___
Plant in early May for June harvest, Plant again in late August for late September harvest (salsa time!)
Corn, Squash, Cucumbers, Beans, Carrots, Beets, Chard
___
Direct sow in Late May or Early June when the soil is warm and nights are averaging in the low 50’s.
Garlic
___
Plant cloves in October for next spring.

Tuesday, January 3, 2012

Happy New Year!

Hello and Happy New Year from the Downtown Teaching Farm!
Here is a "before" picture - from Early May 2011


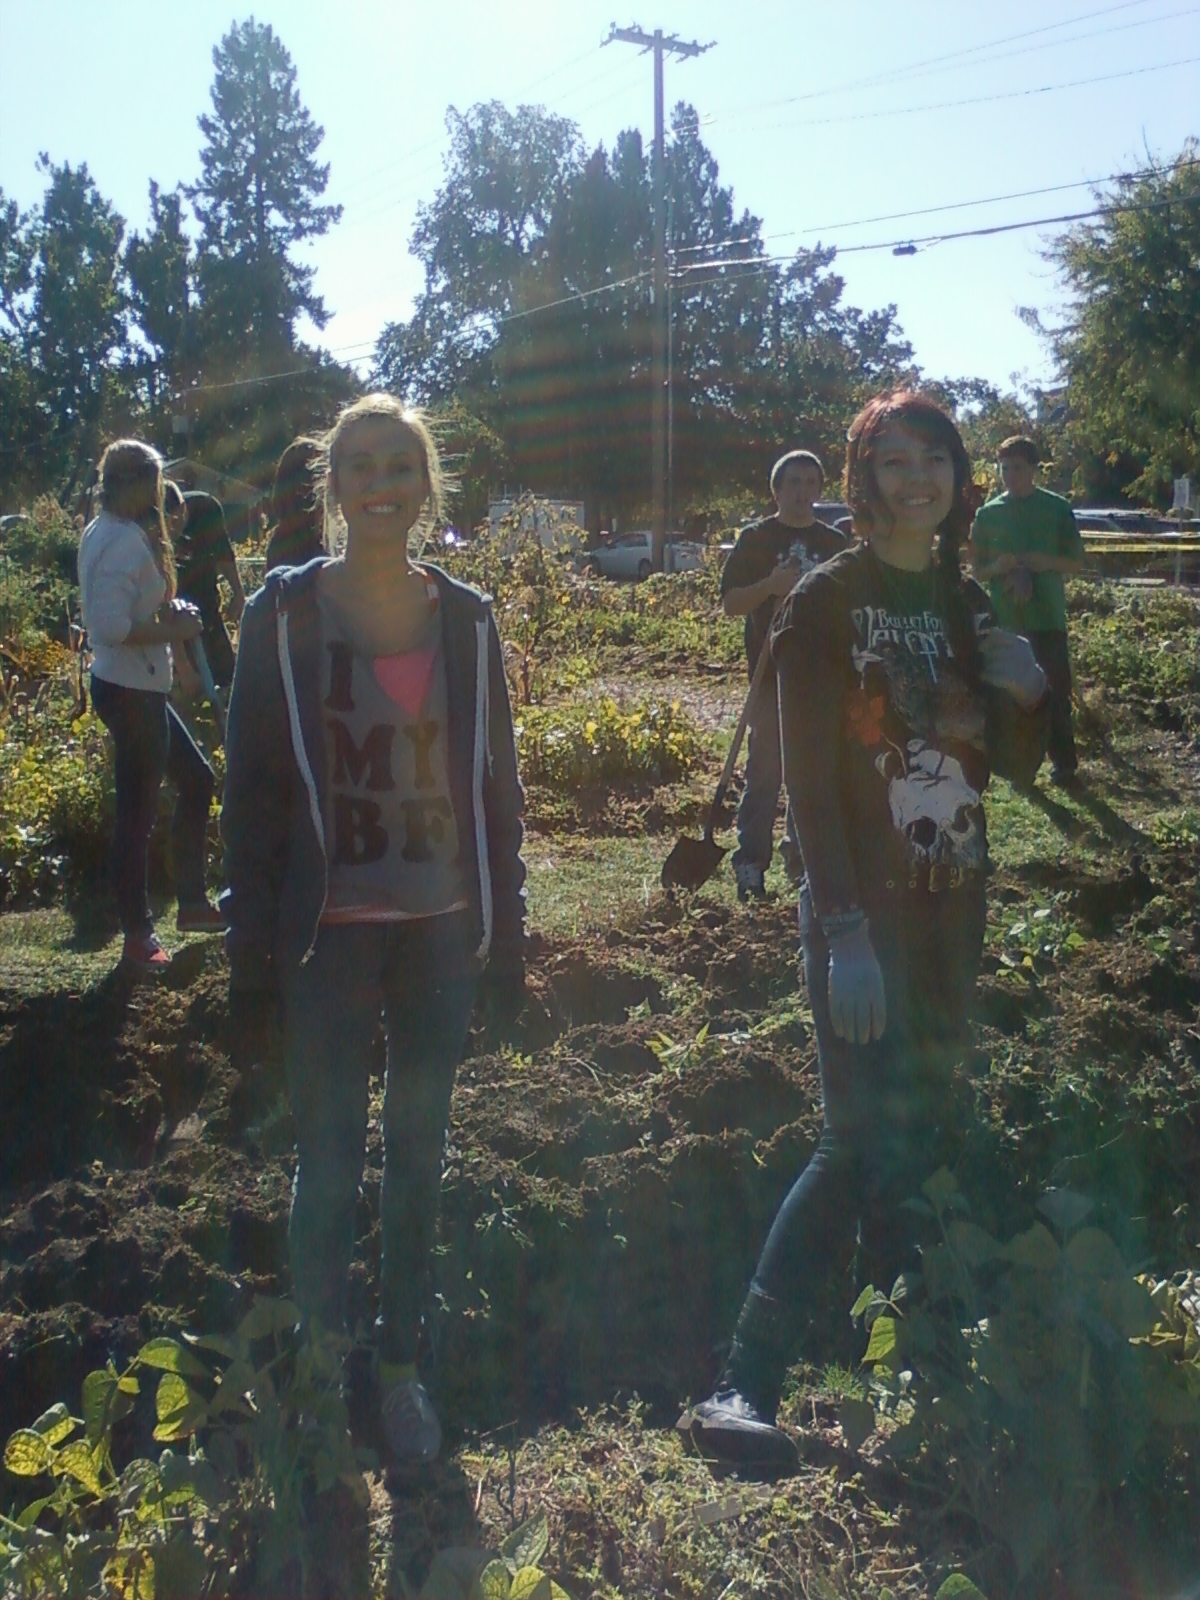
And here are some happy students in the Fall of 2011!

We are starting to think Spring - who can blame us - as it still doesn't feel like winter!  Students will be starting seedlings of a wide variety of crops in the classroom over the next few months, as well as drafting our summer community garden planning and overall farm plan.  Please continue to communicate with us via our email at downtownteachingfarm@gmail.com should you have ideas, resources, or grant information that may interest us - and above all - thank you for your support and help during 2011!

Wednesday, October 19, 2011

Saving Seeds 101


Last month we offered a short workshop on saving heirloom seeds at the Downtown Teaching Farm, and we wanted to share that information with everyone for later reference, or if they weren't able to make the class.  Also, with this long Fall we are enjoying, there is still time to run out and pick a few of your favorite veggies and save the seed for next year.  Scroll down for a photo-guide of how to save (everyone's favorite!) heirloom tomato seeds.


Saving Seed from the Garden

Sources:  University Of Illinois Extension, University of Idaho Exension, Edward's Greenhouses
Downtown Teaching Farm, Boise ID
Seed Saving Class: September 26, 2011

Why Save Your Own Seeds?
Every year a few gardeners ask about saving seed from their flowers and vegetables. We would not have the wonderful heirloom varieties if someone hadn’t kept the seeds year to year. Seed saving can be a rewarding and cost saving way to garden, but beware of the pitfalls.

Pitfalls to Seed Saving: Hybrid Parents and Cross Pollination:
Not every plant’s seeds are worth keeping. Hybrid plants are developed by crossing specific parent plants. Hybrids are wonderful plants but the seed is often sterile or does not reproduce true to the parent plant. Therefore, never save the seed from hybrids. Another major problem is some plants’ flowers are open pollinated by insects, wind or people. These plants include squash, cucumbers, melon, parsley, cabbage, chard, broccoli, mustard greens, celery, spinach, cauliflower, kale, radish, beets, onion, and basil. These plants cross with others within their family. The only way to maintain the original variety is to isolate by large distances. Isolation is often impossible or impractical in a home garden.

What plants can you save seed from? Standard or heirloom varieties that are not cross-pollinated by nearby plants are good candidates. Many gardeners successfully keep beans, tomatoes, lettuce, and peppers. Plants you know are heirloom varieties are easy to save. Ask the person or organization you obtained the seed from how they did it.

Personal Success:  In our area local gardeners often save seed from heirloom (non-hybridized) tomatoes (the riper the better), peppers (nice and fully ripe), pole beans such as the ones we grow at the Downtown Teaching Farm, lettuce, mustard, basil, orach, borage, amaranth, and many lovely annual and perennial flowers.  It is always best to have a named variety before the seed is saved, but if it is a lovely outstanding specimen of a plant – by all means – save it – researching the variety during the winter is a fun project.

Helpful Tips:
       Harvest from the Best:  Choose disease-free plants with qualities you desire. Look for the most flavorful vegetables or beautiful flowers. Consider size, harvest time and other characteristics.

       Always Harvest Mature Seed: For example, cucumber seeds at the eating stage are not ripe and will not germinate if saved. You must allow the fruit and seed to fully mature. Because seed set reduces the vigor of the plant and discourages further fruit production, wait until near the end of the season to save fruit for seed.
o       Seeds are mature or ripe when flowers are faded and dry or have puffy tops. Plants with pods, like beans, are ready when the pods are brown and dry. When seeds are ripe they usually turn from white to cream colored or light brown to dark brown. Collect the seed or fruits when most of the seed is ripe. Do not wait for everything to mature because you may lose most of the seed to birds or animals.

SAVING METHODS:
Dry Methods:
Beans, peas, onions, carrots, corn, most flowers and herb seeds are prepared by a dry method. Allow the seed to mature and dry as long as possible on the plant. Complete the drying process by spreading on a screen in a single layer in a well-ventilated dry location. As the seed dries the chaff or pods can be removed or blown gently away. An alternative method for extremely small or lightweight seed is putting the dry seed heads into paper bags that will catch the seed as it falls out.

Wet Method:
Seed contained in fleshy fruits should be cleaned using the wet method. Tomatoes, melons, squash, cucumber and roses are prepared this way. Scoop the seed masses out of the fruit or lightly crush fruits. Put the seed mass and a small amount of warm water in a bucket or jar. Let the mix ferment for two to four days. Stir daily. The fermentation process kills viruses and separates the good seed from the bad seed and fruit pulp. After two to four days, the good viable seeds will sink to the bottom of the container while the pulp and bad seed float. Pour off the pulp, water, bad seed and mold. Spread the good seed on a screen or paper towel to dry.


Wet Method for Heirloom Tomatoes:  
Step 1: Find really ripe fruit (that you would normally demote to the compost pile for being over-ripe), and slice it open - this is one of my favorites, Aunt Ruby's German Green.


Step 2: Squeeze the seed mass into a jar.


Step 3:  Fill the jar with warm water and stir.


Step 4:  Let sit on the counter for about a week, stirring each day.  A fungus will grow on the surface (killing bad bacteria as it grows).  (These next photos are from a favorite - Eva Purple Ball, that I had prepared earlier).


Step 4:  Wow! - The viable seeds will sink to the bottom.


Step 5:  Decant the water with fungus and tomato mess into the sink, the nice clean seeds will be on the bottom.  Repeat a few times to rise.


Step 6:  Strain over cheesecloth and allow to air dry.


Step 7:  Don't forget to label your varieties!

Seed Storage:
Seeds must be stored dry. Place in glass jar or envelopes. Make sure you label all the containers or packages with the seed type or variety, and date. Put in the freezer for two days to kill pests. Then store in a cool dry location like a refrigerator. Seed that molds was not sufficiently dry before storage.
Seed viability decreases over time. Parsley, onion, and sweet corn must be used the next year. Most seed should be used within three years.
Seed saving is essential for maintaining unusual or heritage vegetables and flowers. It is a great way to propagate many native plants too. There are numerous seed saver exchanges, clubs, and listings in magazines like Organic Gardening. Although you shouldn’t base your entire garden on saved seed you may want to give seed saving a try.

Heirloom Catalogues of Note: (all with free beautiful catalogues and fantastic websites)

Baker Creek Heirloom Seed
Seed Saver’s Exchange
Territorial Seed Company
Seeds of Change


Wednesday, September 7, 2011

Harvest Season


We've been "spreading the love" of farm fresh produce here at the Downtown Teaching Farm for the past several weeks.  In addition to feasting well as a group of community gardeners, we have made contributions of eggplant to Salt Tears Coffeehouse and Noshery, and heirloom tomatoes to Archie's Place. 


We've gathered produce for donations to the St. Mary's Foodbank, Boise High families, and some of the new-to-Boise refugee families.  We hosted our first U-pick Farm Day after school last Friday for the students and staff at Boise High, and are beginning to plan our tomato and melon taste testing at lunch next week.  Thank you again to all of the gardeners, supporters, volunteers, and businesses who have helped contribute to a successful first season at the Downtown Teaching Farm!